

Accept the first-year gap
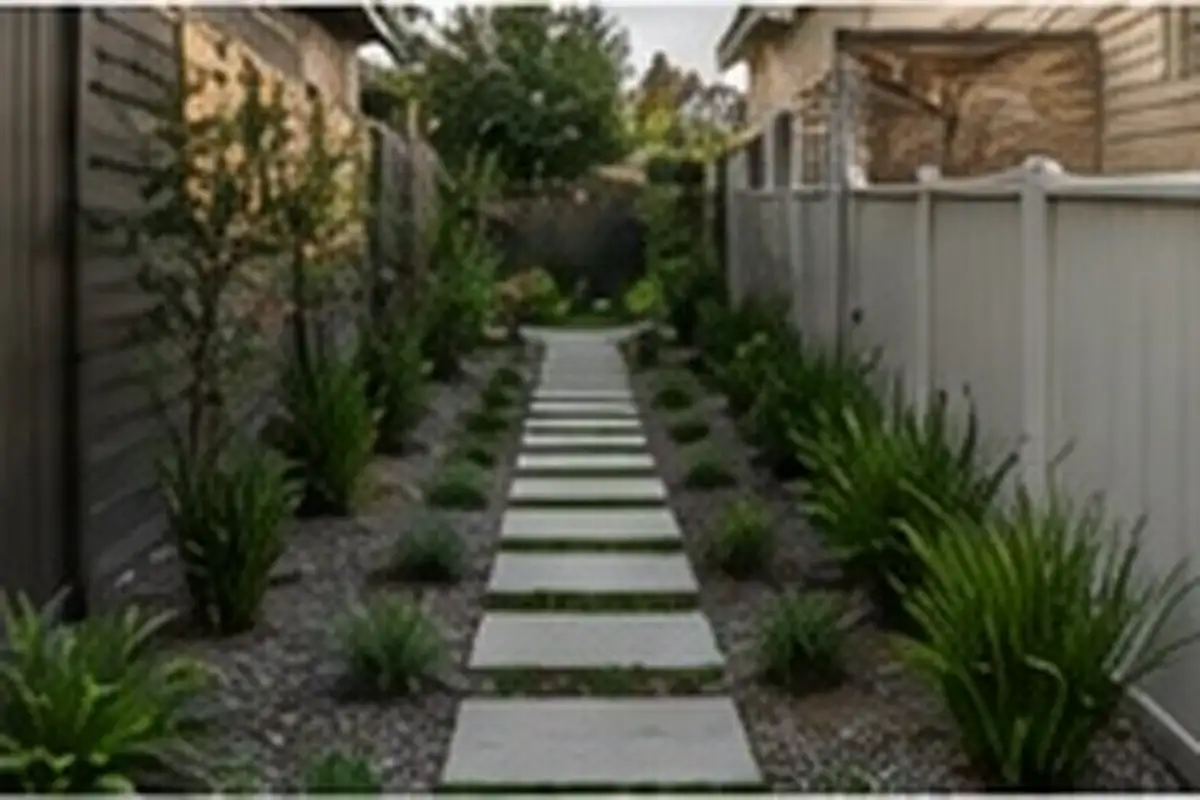
New plants are usually smaller than their mature size, and filling every empty space creates future crowding. The first-year goal is not instant fullness. It is a strong layout with room for roots to establish.
Use mulch and clean edges to make the bed look deliberate while plants grow. The visual structure comes from repetition and spacing, not from maximum plant count.
Repeat groups instead of single specimens
A repeated group of three or five plants often looks more intentional than many individual plants. Use the same species or similar forms in several areas of the bed.
This also makes maintenance easier because you can evaluate a plant group as a whole rather than tracking dozens of unrelated specimens.
Use mature dimensions
Plant labels often list mature height and width. Use those numbers when deciding spacing. A new bed can look sparse at first, but the plants are supposed to expand into the open areas.
If you need temporary color, use compatible annuals or containers rather than permanently adding too many long-lived plants.
Give the bed a strong edge
A clear edge between lawn, path, and planting makes a young bed look more finished. The edge can be simple and does not have to use an expensive material.
Keep the shape easy to mow and maintain. Curves can look natural, but overly complicated edges create more work.
Use mulch carefully
Mulch can visually unify a new planting bed while reducing exposed soil. Keep it away from stems and trunks, and use a depth appropriate to the material and site.
As plants mature, you may need less exposed mulch. The long-term design should be living plants first, not a permanent field of mulch.
Edit after one season
Take photographs from the same viewpoint at installation and later in the year. Look for plants that are thriving, struggling, hidden, or visually disconnected.
Native planting is a process. The first year is when you learn the site. Use that information to adjust the composition rather than treating the original plan as untouchable.
Common mistakes to avoid
Test the idea before committing
Use the trial for how to make a native plant bed look intentional in its first year during an ordinary day and watch the detail that matters most: clearance, reach, light, watering, storage, or seasonal access.
Questions to answer before you buy
Know when to simplify
Frequently asked questions
A realistic weekend plan
On this gardening & landscaping project, return to How to Make a Native Plant Bed Look Intentional in Its First Year and review drainage before making another change. A small trial of how to make a native plant bed look intentional in its first year can reveal whether the larger idea is worth the cost before the full project begins.
Keep reading
A closer look at How to Make a Native Plant Bed Look Intentional in Its First Year
With how to make a native plant bed look intentional in its first year, the useful starting point is the condition you already have rather than an idealized before-and-after picture. Before moving on from How to Make a Native Plant Bed Look Intentional in Its First Year, check light again so the next decision fits the existing setup.
New plants are usually smaller than their mature size, and filling every empty space creates future crowding. The first-year goal is not instant fullness. It is a strong layout with room for roots to establish.
Accept the first-year gap
The strongest version of accept the first-year gap usually comes from doing less, but doing it deliberately. In the context of How to Make a Native Plant Bed Look Intentional in Its First Year, the storage detail should be reviewed alongside the space, materials, and routine already described.
In the context of How to Make a Native Plant Bed Look Intentional in Its First Year, the daily routine detail should be reviewed alongside the space, materials, and routine already described. In the context of How to Make a Native Plant Bed Look Intentional in Its First Year, the water detail should be reviewed alongside the space, materials, and routine already described.
Repeat groups instead of single specimens
Before moving forward with repeat groups instead of single specimens, write down what would make the choice inconvenient six months from now. Before moving on from How to Make a Native Plant Bed Look Intentional in Its First Year, check light again so the next decision fits the existing setup.
In the context of How to Make a Native Plant Bed Look Intentional in Its First Year, the water detail should be reviewed alongside the space, materials, and routine already described. The useful reference point for How to Make a Native Plant Bed Look Intentional in Its First Year is tool storage; confirm that part of the project still supports the original goal.
Use mature dimensions
Treat use mature dimensions as a decision point rather than a decorative step. Before moving on from How to Make a Native Plant Bed Look Intentional in Its First Year, check light again so the next decision fits the existing setup. Before moving on from How to Make a Native Plant Bed Look Intentional in Its First Year, check light again so the next decision fits the existing setup.
In the context of How to Make a Native Plant Bed Look Intentional in Its First Year, the daily routine detail should be reviewed alongside the space, materials, and routine already described. The useful reference point for How to Make a Native Plant Bed Look Intentional in Its First Year is tool storage; confirm that part of the project still supports the original goal.
Give the bed a strong edge
When you reach give the bed a strong edge, pause long enough to compare the option with the space you actually have. In the context of How to Make a Native Plant Bed Look Intentional in Its First Year, the water detail should be reviewed alongside the space, materials, and routine already described.
Use the existing space as the final test. In the context of How to Make a Native Plant Bed Look Intentional in Its First Year, the storage detail should be reviewed alongside the space, materials, and routine already described.
Use mulch carefully
A useful way to handle use mulch carefully is to separate the visual choice from the practical constraint. In the context of How to Make a Native Plant Bed Look Intentional in Its First Year, the storage detail should be reviewed alongside the space, materials, and routine already described.
In the context of How to Make a Native Plant Bed Look Intentional in Its First Year, the storage detail should be reviewed alongside the space, materials, and routine already described. Before moving on from How to Make a Native Plant Bed Look Intentional in Its First Year, check light again so the next decision fits the existing setup.
Edit after one season
The strongest version of edit after one season usually comes from doing less, but doing it deliberately. In the context of How to Make a Native Plant Bed Look Intentional in Its First Year, the storage detail should be reviewed alongside the space, materials, and routine already described.
In the context of How to Make a Native Plant Bed Look Intentional in Its First Year, the daily routine detail should be reviewed alongside the space, materials, and routine already described. In the context of How to Make a Native Plant Bed Look Intentional in Its First Year, the water detail should be reviewed alongside the space, materials, and routine already described.
Check the finished result
On this gardening & landscaping project, return to How to Make a Native Plant Bed Look Intentional in Its First Year and review cleaning before making another change. In the context of How to Make a Native Plant Bed Look Intentional in Its First Year, the storage detail should be reviewed alongside the space, materials, and routine already described. In the context of How to Make a Native Plant Bed Look Intentional in Its First Year, the daily routine detail should be reviewed alongside the space, materials, and routine already described.
Before moving on from How to Make a Native Plant Bed Look Intentional in Its First Year, check light again so the next decision fits the existing setup. In the context of How to Make a Native Plant Bed Look Intentional in Its First Year, the daily routine detail should be reviewed alongside the space, materials, and routine already described. The useful reference point for How to Make a Native Plant Bed Look Intentional in Its First Year is tool storage; confirm that part of the project still supports the original goal.
Plan for maintenance and change
A useful how to make a native plant bed look intentional in its first year should remain workable after the first week. In the context of How to Make a Native Plant Bed Look Intentional in Its First Year, the daily routine detail should be reviewed alongside the space, materials, and routine already described. In the context of How to Make a Native Plant Bed Look Intentional in Its First Year, the water detail should be reviewed alongside the space, materials, and routine already described.
Before moving on from How to Make a Native Plant Bed Look Intentional in Its First Year, check light again so the next decision fits the existing setup. The useful reference point for How to Make a Native Plant Bed Look Intentional in Its First Year is tool storage; confirm that part of the project still supports the original goal.