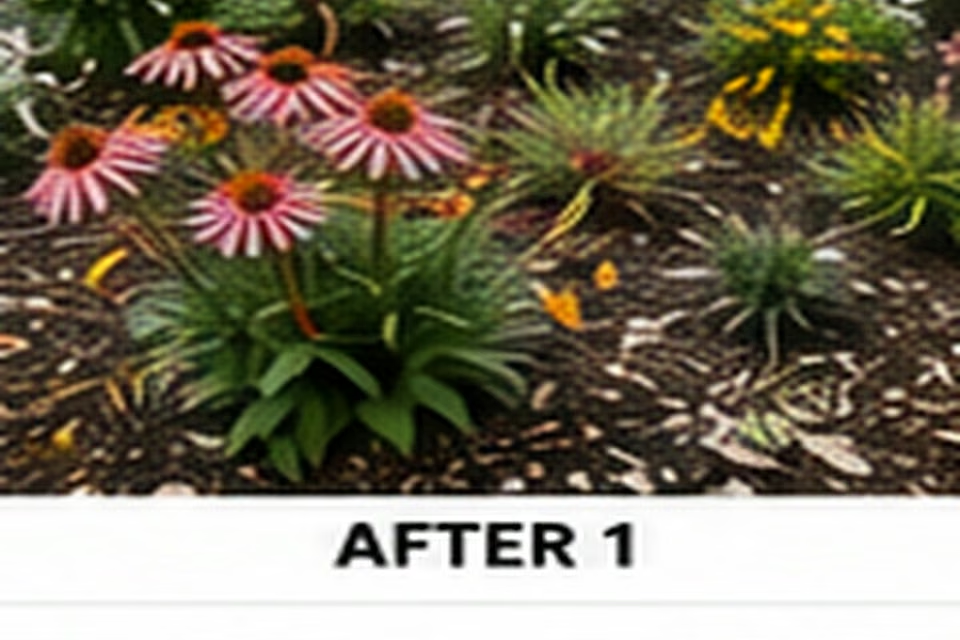
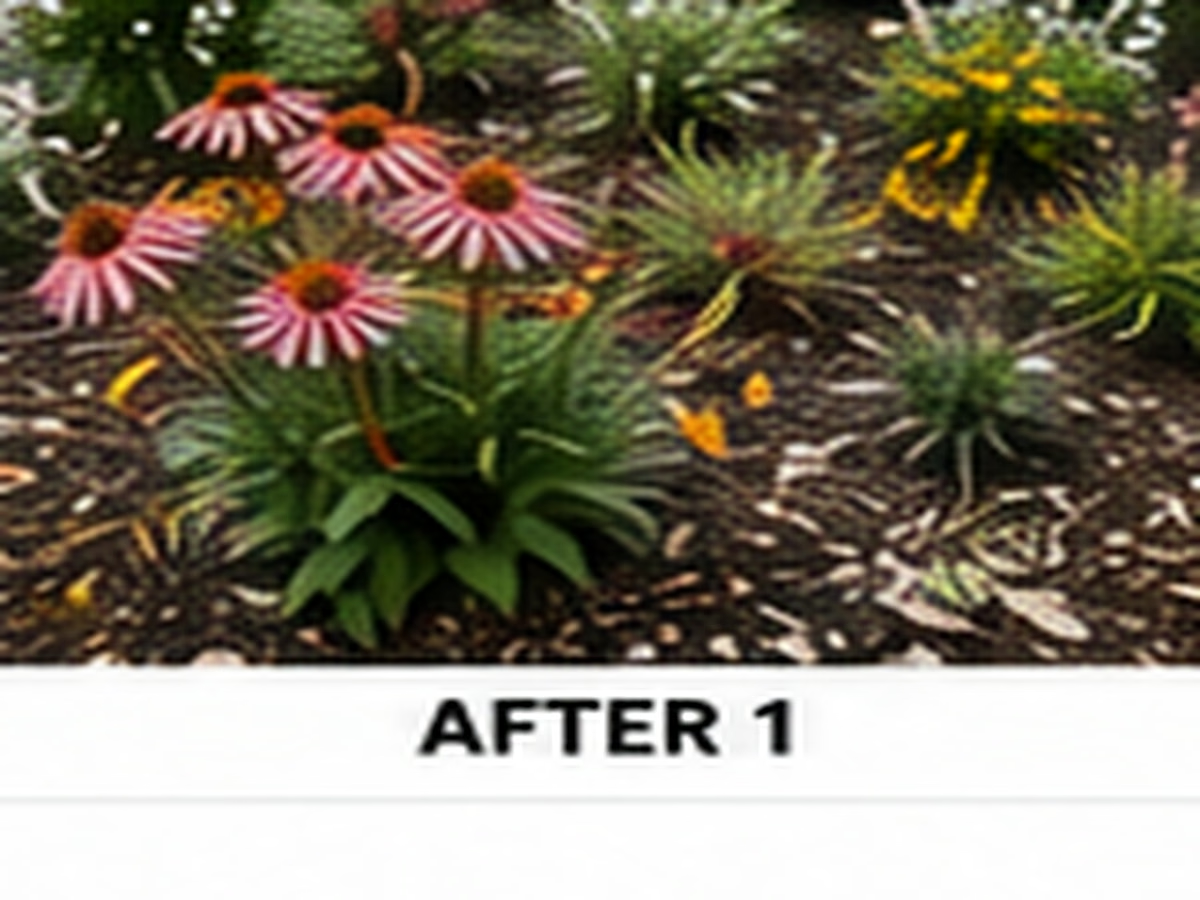
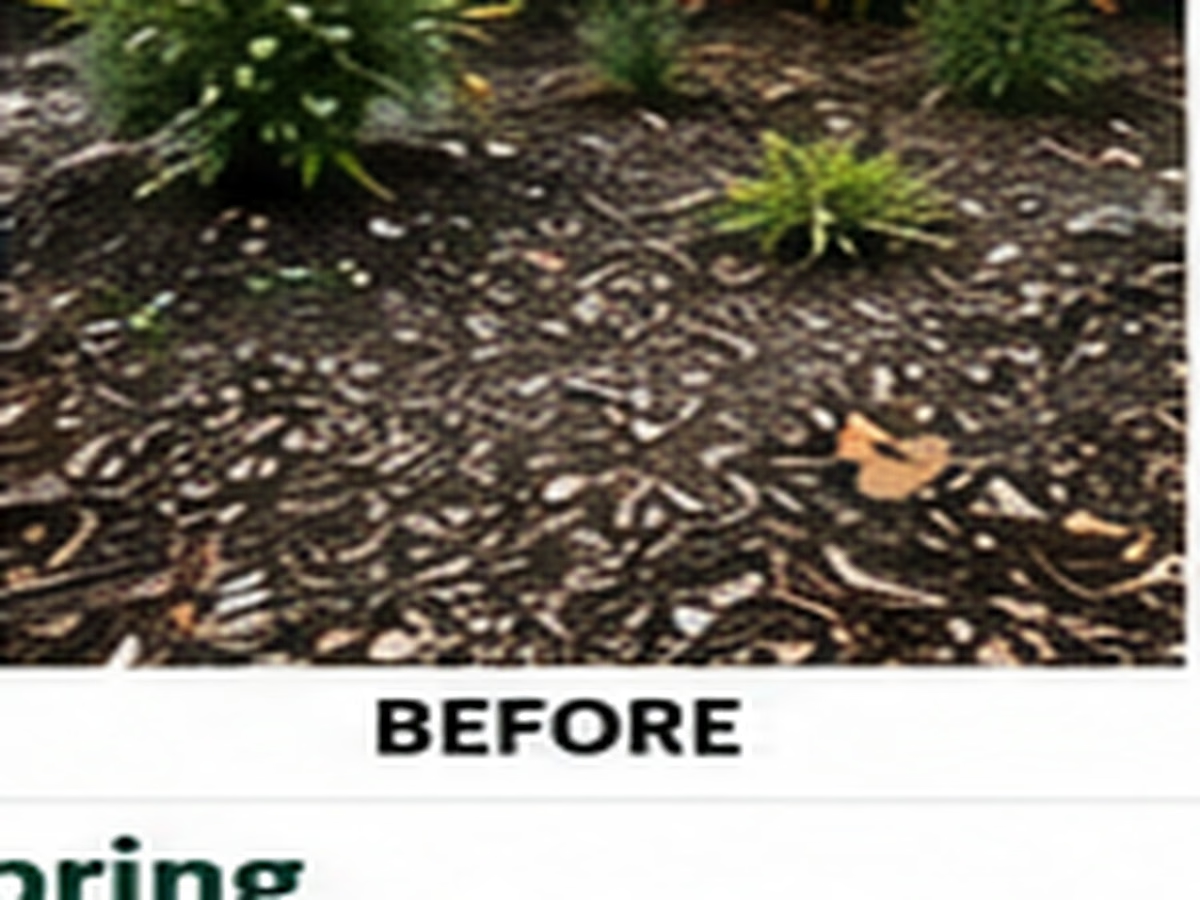
Dream home and garden spaces feel more complete when Pollinator Bed Planting Plan: From Bare Soil to Late-Summer Color has a clear purpose, and Dream Home Garden brings that same balance of beauty and function to home and garden advice and home garden planning.
Build a pollinator-friendly planting bed that looks intentional by combining bloom sequence, plant structure, and regional fit instead of simply packing in flowers.
Start with habitat goals, not a shopping list
A pollinator bed works best when the plants are chosen for the site and for a sequence of resources across the growing season. Light, soil moisture, winter hardiness, and mature size matter before flower color enters the conversation. Native plants can be especially useful when they are well matched to the local region and growing conditions.
Define the space you have. A six-by-twelve-foot bed does not need a list of thirty species. A smaller palette repeated well can be easier to maintain and can look more deliberate while still providing a varied source of nectar, pollen, and structure.
Build a bloom sequence instead of one big peak
A strong pollinator garden changes through the season. Combine early, middle, and late bloomers so that a bed does not look spectacular for one week and empty afterward. Use foliage and seedheads to carry the composition between blooms.
Think in groups rather than single plants. Repeating drifts of the same species help insects find resources and help the garden look designed. Place taller plants behind or toward the center of the bed, with lower plants near the viewing edge.
Choose plants that fit your local conditions
Regional fit matters. A plant that thrives in one part of the country can struggle in another because of soil, heat, humidity, or winter conditions. Use a local extension, native plant database, or regional nursery to confirm suitability before buying.
Also consider the wet and dry spots within the bed. If one corner stays damp and another dries quickly, do not force every plant into the same conditions. Designing for the actual site is one of the simplest ways to reduce maintenance later.
Keep structure visible even when the planting is full
Pollinator gardens do not need to look wild everywhere. Define a path, lawn edge, or planting border so the eye can read where the garden starts and ends. This is especially helpful around front walks and patios.
Repeat plant heights and forms. A few strong upright grasses, rounded shrubs, or low groundcovers can anchor a colorful flower mix. The point is not to make every plant behave the same; it is to give the bed a framework that lets the seasonal flowers feel intentional.
Support insects without creating a maintenance problem
Leave some stems and seedheads through the season when they are healthy and do not obstruct paths. Reduce pesticide use when possible and follow label directions whenever a treatment is necessary. A pollinator-friendly garden should also be practical for the people maintaining it.
Install paths or stepping stones where you need regular access. If you have to walk through the bed to deadhead or water, you are more likely to compact the soil and crush plants. Access is part of habitat design because the healthiest garden is the one you can care for consistently.
Finish with one year of observation
The first season should be treated as a learning year. Note which plants bloom when, which ones lean or spread, where weeds compete, and how much water is needed. Take photos from the house and from the sidewalk so you can edit the bed with a clear view of its purpose.
Do not fill every gap immediately. Leave room for mature size and watch how the plants interact. The strongest pollinator beds often improve through editing—moving a weak plant, dividing a crowded clump, or repeating a successful plant after you see how the whole bed behaves.
A practical final check
When the bed is new, resist the urge to judge success by fullness alone. A small group of healthy plants with room to mature is usually easier to correct than a dense planting that hides problems. Use a simple observation list: which plants flowered, which handled drought, which leaned, which attracted the most activity, and which became difficult to reach. Photograph the bed from the same viewpoint every few weeks. By the end of the season, you will have a visual record that makes editing decisions easier. Replace weak performers with plants that better fit the site instead of adding more species simply because a gap remains. That is how a pollinator bed becomes both more useful and more coherent over time.
Practical checkpoint
A pollinator bed is successful when it offers useful resources and is still understandable to a homeowner. Keep habitat value and garden structure working together instead of treating them as competing goals.
Practical checklist
Use this quick list after reading the guide so the next step is concrete and manageable.
- Match plants to local light, moisture, and climate
- Plan bloom sequence across the growing season
- Use repeated groups instead of one-of-everything planting
- Define the bed with a crisp edge or path
- Leave room for mature size and maintenance access
- Record performance before buying more plants
Work from the actual conditions
The most useful improvement is usually the one that matches what is actually happening in the home or garden. Before adding another product or decorative element, look at the conditions around the problem: access, light, moisture, mature size, wear, and how people use the space. That small pause helps prevent expensive fixes that solve the wrong issue.
Use the article’s first step as your baseline, then compare the result after several days or weeks. If the change works, keep the system simple. If it does not, adjust the underlying condition before adding more complexity. This approach keeps maintenance manageable and makes future decisions easier to repeat.
Frequently asked questions
Are native plants required for a pollinator garden?
No, but well-chosen native plants can provide strong ecological value and are often well adapted to local conditions. Use regional guidance when selecting them.
How many plant varieties should a small pollinator bed have?
There is no fixed number. A few complementary species repeated in groups can provide structure, bloom sequence, and good visual rhythm.
Should I remove all flowers after they finish blooming?
Not always. Some spent stems and seedheads can provide useful structure or habitat. Remove material when it is diseased, unsafe, or blocking the maintenance plan.
Sources and further reading
Keep reading
Continue with these related Dream Home & Garden guides: