
Use early fall to diagnose and repair a patchy lawn with the right sequence of mowing, soil checks, seed or sod, watering, and follow-up care.

Find the reason for the patchiness
Thin grass is a symptom, not a diagnosis. Walk the lawn and look for shade, compacted soil, poor drainage, pet traffic, mower stress, thatch, insects, or a watering problem. If the same area fails every year, replacing seed without fixing the cause usually creates another temporary patch.
Check whether the grass type matches your region and site. Cool-season and warm-season lawns behave differently, and a seed mix that works well in one part of the U.S. may be poorly suited to another. A local extension recommendation can save a weekend of work.
Before changing the lawn, identify why the area is thinning. Compare sunlight, foot traffic, soil compaction, mowing height, and irrigation coverage; different causes need different fixes. After rainfall, note where water stands or runs off, and check a small soil plug for moisture below the surface rather than judging only by the grass color.
Mow and clear the surface before repair
Mow at the appropriate height for your grass type and remove excessive leaf or debris cover so seed can reach soil where needed. Do not scalp the lawn simply because you are about to repair it. The goal is to create a healthy starting surface, not to stress the turf before establishment.
Rake out loose dead material only where it is interfering with seed-to-soil contact. If the entire lawn has a heavy thatch layer, treat that as a separate diagnosis rather than automatically dethatching everything. Different problems call for different interventions.
Address compaction before adding seed
Compacted soil can restrict roots, air, and water movement. Penn State Extension notes that compaction changes soil structure and can reduce turf performance. If your patchy area receives repeated foot traffic or has obvious hard soil, relieve the underlying issue before expecting new grass to thrive.
Core aeration can be useful in appropriate lawn types and conditions, but it is not a universal answer. If the soil is poorly drained for another reason, aeration alone may not solve the problem. The repair plan should match the soil issue you actually found.
Choose seed, sod, or another repair based on the damage
Small areas can often be repaired with seed when the grass species, season, soil, and moisture support establishment. Larger or urgent repairs may be better candidates for sod or a different landscape solution. The correct choice depends on the lawn type and the time available before stressful weather arrives.
Prepare the surface so seed or sod makes real contact with soil. Follow the product or species guidance for seeding rate and watering rather than scattering extra seed in hopes that more is better. Overcrowded seedlings can compete just as established plants do.
Water gently and consistently
New seed needs reliable moisture at the surface during germination. Water lightly enough to avoid washing seed away, then adjust as roots develop. Once established, the objective shifts toward deeper, less frequent watering that supports the root zone rather than keeping the top layer constantly wet.
Protect repaired spots from traffic. A patch that is walked across every day may fail regardless of seed quality. Use a temporary marker or reroute traffic until the grass can tolerate normal use.
Use the next month to measure success
Do not judge the repair after one afternoon. Watch germination, density, color, and how the lawn responds to mowing. Thin spots that remain may point to a second problem such as shade or drainage.
Keep notes on what changed. If the repair succeeds, remember the grass type, seed source, mowing height, and watering approach. If it fails, your notes make the next diagnosis more precise. The goal is to turn one weekend project into a repeatable lawn-care method.
A practical final check
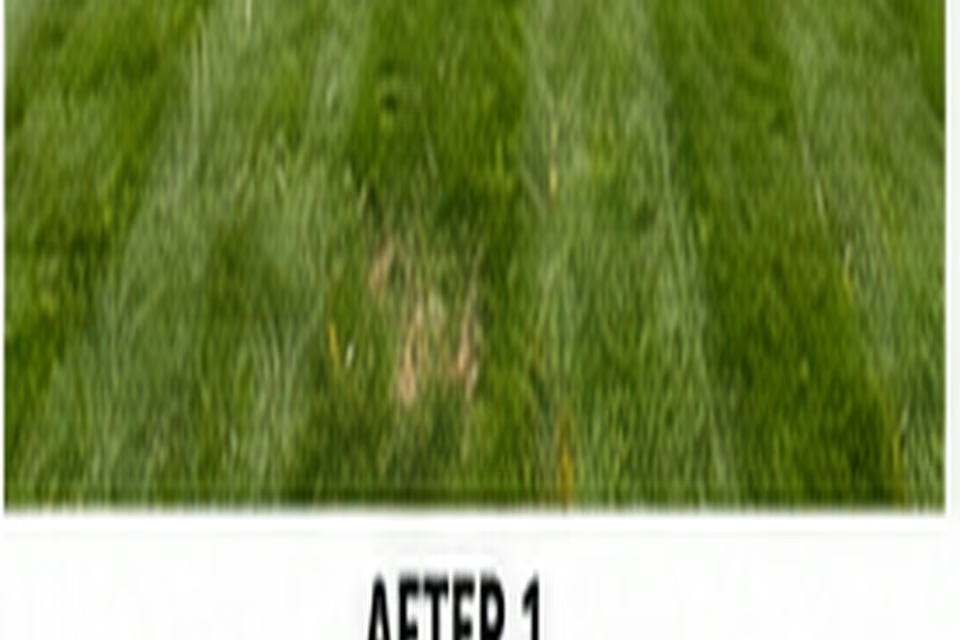
Make the repair measurable before you begin. Mark the damaged area, take a photo, and note the mowing height and recent watering pattern. Then change one or two variables instead of changing everything at once. If you seed, watch where seedlings emerge and whether the same bare spots remain. If those spots stay thin, look again at shade, drainage, compaction, or traffic rather than scattering more seed. The visual goal is an even stand, but the maintenance goal is more important: a lawn that remains healthy with the amount of care you can realistically provide. A small record from the first repair becomes useful the next time the same part of the yard needs attention.
Practical checkpoint
A patchy lawn should improve because the underlying problem was addressed, not simply because more seed was thrown down. Diagnose first, then repair in a sequence that gives new grass a fair chance.
Work from the actual conditions
Frequently asked questions
Is fall the best time to repair every lawn?
Timing depends on grass type and local climate. Early fall can be favorable for many cool-season lawns, while warm-season turf follows a different schedule.
Should I aerate before overseeding?
It can help when compaction is a real problem and aeration is appropriate for the lawn. Do not aerate automatically without checking the soil and turf conditions.
How long does a patchy lawn repair take?
Germination and establishment depend on grass type, temperature, moisture, and soil conditions. Evaluate progress over several weeks rather than expecting an instant green result.
Sources and further reading
- Penn State Extension — Managing soil compaction
- University of Maryland Extension — September gardening tips and tasks
For work from the actual conditions, check the growing conditions before making a change. Light, moisture, root space, soil structure, and mature size interact, so adjust the factor most likely to be limiting the plant or bed first. Use labels or local extension guidance for region-specific details and avoid extra fertilizer or frequent watering without a clear reason.
Let the site and the plant’s needs guide frequently asked questions. Observe how the area behaves after watering and rain, leave room for mature growth, and keep access for weeding and inspection. If the same problem returns, reassess drainage, light, or soil conditions before repeating the same treatment.
For sources and further reading, check the growing conditions before making a change. Light, moisture, root space, soil structure, and mature size interact, so adjust the factor most likely to be limiting the plant or bed first. Use labels or local extension guidance for region-specific details and avoid extra fertilizer or frequent watering without a clear reason.