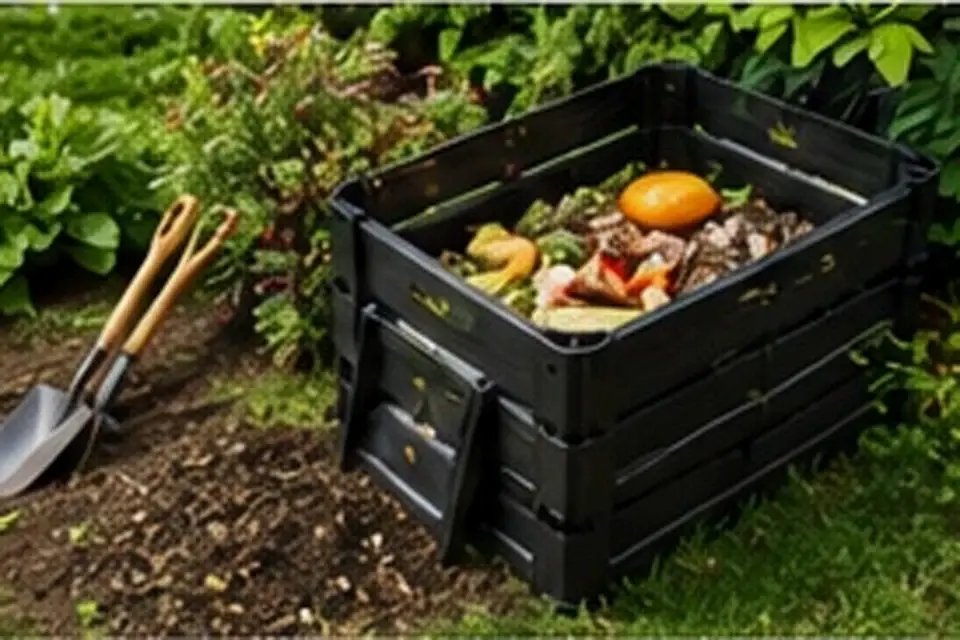
Garden tools usually fail quietly. Soil stays packed around a blade, moisture remains on a metal surface, a wooden handle dries and cracks, or pruning shears become dull enough that the gardener starts forcing the cut. By late summer, those small problems can accumulate because the tools have been used repeatedly through planting, weeding, pruning, and harvesting.
Google Trends' official gardening material shows continuing seasonal interest in practical garden activities, and external trend reporting has also identified garden-tool interest around late-summer maintenance. That makes this a useful time to inspect the tools you have rather than automatically buying replacements. The first question is whether a tool is dirty, dull, loose, damaged, or simply the wrong tool for the job.
Start with a simple inspection
Lay the tools out where you can see them. Look for dried soil, rust, sap, bent metal, loose fasteners, cracked handles, and damaged grips. A tool that has become difficult to use may need cleaning or sharpening rather than replacement. On the other hand, a cracked handle or badly damaged cutting component is a reason to stop using the tool until it can be repaired or replaced safely.
Separate tools by type. Shovels and trowels need different attention from pruning shears. A hose nozzle, rake, hand fork, and lopper each has different moving or cutting parts. Organizing the maintenance by function prevents the common mistake of treating every tool with the same cleaner, oil, or sharpening method.
Remove soil before it hardens
Brush or rinse loose soil from digging tools after use. Dried soil is harder to remove and can hold moisture against metal. For stubborn deposits, use a method appropriate to the tool's finish and the manufacturer's guidance. Avoid aggressive grinding or sanding unless you understand how it could change the edge or protective coating.
Clean cutting tools with extra care
Pruning shears and loppers deserve attention because plant sap and residue can build up around the blades and pivot. Clean the blades according to the tool manufacturer's recommendations, then inspect the cutting action. The blades should meet correctly rather than sliding past each other in a way that crushes plant tissue.
If a cutting tool needs sharpening, use a method appropriate to the blade geometry. Sharpening is not simply removing metal until the edge looks bright. Taking away too much material or changing the angle can reduce performance. If you are unsure about the correct edge, a professional sharpening service may be safer than experimenting on an expensive tool.
Practical checkpoint
Open and close each pair of pruning shears slowly after cleaning. If the movement is gritty, loose, or uneven, inspect the pivot before adding more oil or putting the tool away.
Pay attention to wooden handles
Wooden handles benefit from being kept clean and reasonably dry. Check for splinters, cracks, and movement between the handle and metal head. A loose head is not a minor cosmetic issue because it can change the way force transfers through the tool. Do not keep using a handle that feels unsafe in the hand.
Avoid storing wood where it stays damp for long periods. A dry, ventilated storage area is generally better than a sealed container filled with wet tools. The goal is not perfect indoor conditions; it is preventing repeated cycles of moisture and neglect from turning a useful handle into a replacement project.
Use oil only where it belongs
Some metal parts benefit from a light protective oil, but more oil is not automatically better. Excess residue attracts dirt and can make a tool unpleasant to handle. Follow the manufacturer's guidance for pivots, blades, and finishes. Never assume a household oil is appropriate for every tool or plant-contact surface.
Store tools by how often you use them
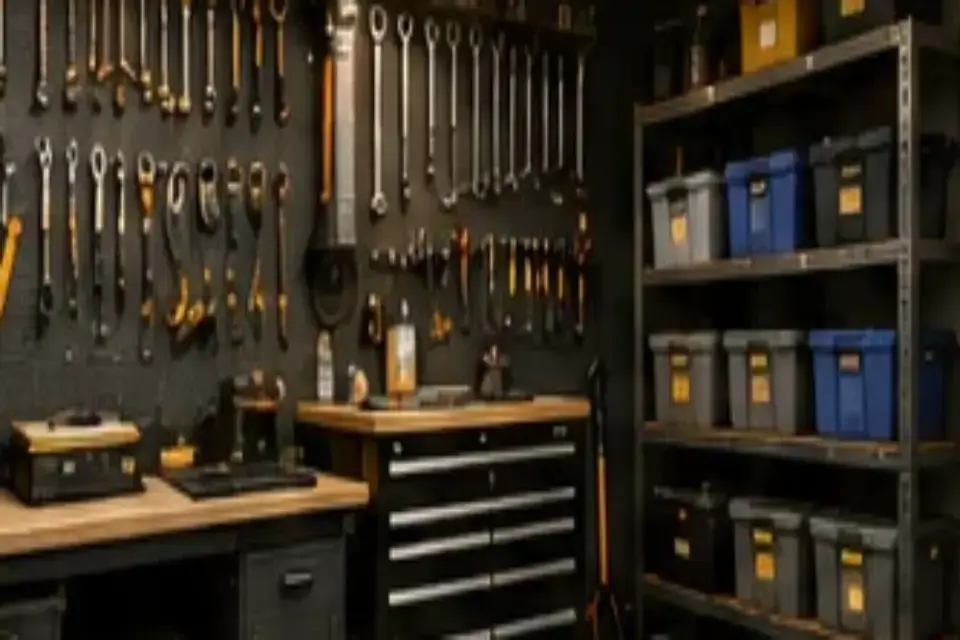
A good storage system makes maintenance easier because it reduces the chance that tools are left on wet ground or buried under other equipment. Keep frequently used hand tools accessible and store sharp tools so their edges cannot injure someone reaching into the area. Larger tools can be grouped by function rather than simply placed wherever there is an empty corner.
If your garden is small, a compact wall rack or dedicated tool station can be more useful than a large shed. If you garden in several areas, a portable caddy may reduce the temptation to leave tools outside. Storage is part of maintenance because the easiest system to use is the system most likely to be used.
Know when cleaning is not enough
Replace or professionally repair tools when the structure is compromised. A deeply cracked handle, severely bent digging tool, damaged cutting mechanism, or loose component that cannot be safely secured is not worth forcing back into service. Tool maintenance is supposed to reduce risk and improve performance, not turn a broken tool into an improvised one.
This late-summer check also pairs well with a broader garden review. If you are preparing planting areas for the next season, see our raised-bed gardening guide and our container gardening guide. Both are easier to act on when your basic tools are clean and ready.
A five-minute reset after each use
The easiest maintenance routine is usually the smallest one. After a day of gardening, knock soil from digging tools, rinse obvious residue, and put everything somewhere dry. Pruning shears deserve a quick wipe when sap is visible. You do not need a workshop full of equipment for this. You need a repeatable habit that prevents small deposits from becoming hard, neglected problems.
Late summer is also a good time to notice which tools you reach for repeatedly. If a tool is awkward, too heavy, or poorly suited to the work you do, make a note before buying another version of the same problem. Tool maintenance is partly about keeping equipment in good condition and partly about learning which equipment actually earns its place in the garden.
Frequently asked questions
How often should garden tools be cleaned?
Light cleaning after use is ideal for tools that contact wet soil, sap, or plant material. A more complete inspection can be done at the end of a busy season or whenever a tool begins to feel different.
Can rusty garden tools be saved?
Surface rust may be removable depending on the tool and finish, but heavily corroded or structurally damaged metal may not be worth restoring. Inspect the tool after cleaning rather than assuming every rusted item is salvageable.
Should I sharpen garden shears myself?
Basic sharpening can be reasonable when you know the blade design and correct angle. If the tool is expensive, damaged, or unfamiliar, professional sharpening is the lower-risk option.